
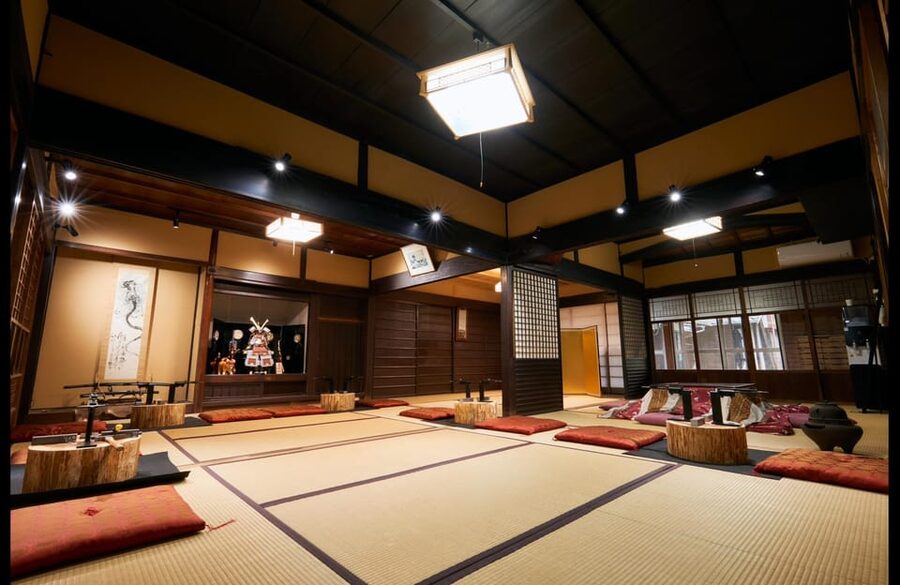
Reviewed · KYOTO TOURS
Kyoto: Ninja Weapon Forging Experience
A furnace glowing at 800°C is the real star here. Under close guidance, you heat a piece of steel, hammer it, sand it, darken it, and polish it into a shuriken or kunai. This is not a quick costume photo stop. You spend much of the session using the tools and watching the metal change shape.
I like the hands-on work and the personal finish. You choose your weapon style, pick a kanji character, and leave with an item made during the class. I also like the instructors’ lively teaching style, especially Taka, whose energy keeps the pace fun without making the craft feel like a stage show.
The main thing to consider is the location. Hieizanguchi Station is close, but the studio sits up a hill, and some visitors have found a taxi more practical than public transport from central Kyoto. The basic price is $148, and a kunai costs another ¥3,000.
Key points to know before booking
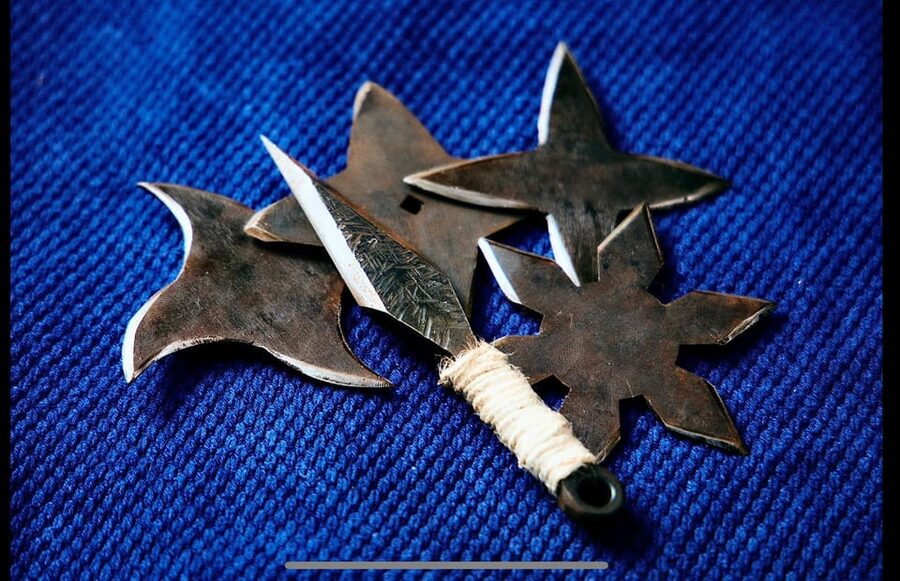
- You forge real steel: The class includes heating, hammering, sharpening, sanding, blackening, and polishing.
- You choose your design: Pick from three shuriken styles, or reserve the kunai option for an additional ¥3,000.
- You wear traditional work clothes: Samue and a tenugui head wrap make the workshop feel like a proper craft session.
- Your souvenir is personalized: The team engraves a kanji character of your choice on the finished weapon.
- The class is family-friendly: Children as young as eight have taken part with adult help, and teenagers can handle the process well.
- Pack it correctly for your flight: Your finished weapon must go in checked luggage, never in your carry-on bag.
Arriving at the hillside studio near Hieizanguchi Station
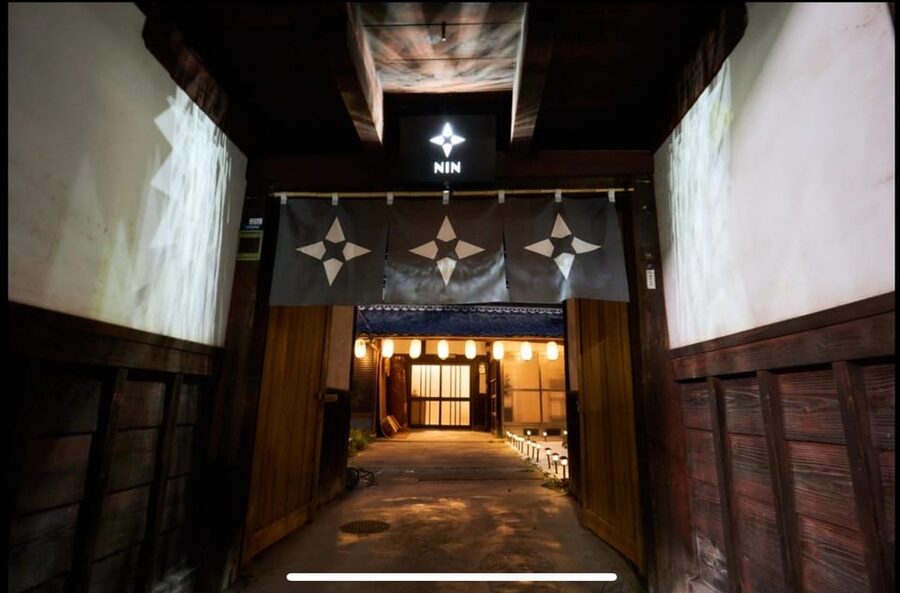
The meeting point is only a one-minute walk from Hieizanguchi Station. The useful landmark is a red postbox in front of the station. From there, go up the hill to the studio.
That short walk is simple, but the wider journey can take more planning. One account describes a bus ride of about 40 minutes from central Kyoto, while another recommends a taxi because public transport does not bring you close enough without a hill walk. Allow extra time, especially if you have a fixed start time.
The setting is quieter than central Kyoto. That helps the workshop feel separate from the usual temple-and-shopping circuit. You are not squeezing a quick craft demonstration between crowded streets. You are heading to a working studio in a calmer residential area.
If you are returning after an evening session, keep your transport plan in mind. The area has been described as peaceful at night, but waiting for a taxi is easier when you arrange one ahead of time. The station is close to the studio, yet the route from central Kyoto is the part that deserves attention.
More Samurai and Ninja Experiences in Kyoto
- Kyoto Samurai Experience
★ 5.0 · 1,294 reviews - Kyoto: Kendo and Samurai Experience with Uniform and Gear
★ 4.9 · 815 reviews - Kyoto: Samurai Sword Class by Experts in Traditional Arts
★ 4.9 · 657 reviews
Changing into samue before the forge begins
The class starts with a change of clothes. You put on samue, the traditional workwear associated with Japanese craftspeople, and wrap a tenugui around your head.
This is more than a costume trick. The clothes signal that you are here to work. Once everyone is dressed, the class has a clear rhythm: listen, try the step, get help, then move on. It also makes the photographs and videos more memorable.
The team helps capture moments during the session, including the furnace and hammering. Bring your phone or camera if you want your own pictures. The forge is the most dramatic part to record, with glowing steel and sparks, but you should follow the staff’s instructions about when and where to film.
The atmosphere is serious about safety but not stiff. Taka is often singled out for his energy and humor, while Mits, Ako, and the rest of the team help with individual steps. Yok is associated with the careful kanji engraving. Names and roles may vary by session, but the important point is that English-speaking instructors are present throughout.
Choosing between three shuriken styles and a kunai
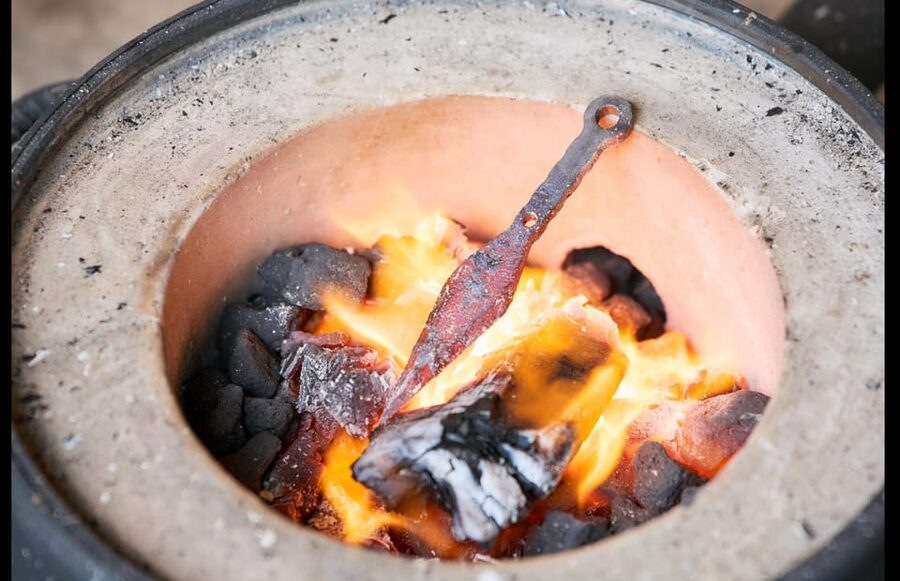
You choose your weapon early. The standard options are three distinct shuriken styles. Each has a different shape and character, so take a moment to look at the samples before deciding.
A shuriken is the better choice if you want the included option and a compact display piece. It also gives you the classic ninja-star shape many people picture when they think of ninja equipment.
The kunai is the more knife-like option and has become a favorite for people who want a different form. It is not included at the basic price. Select the kunai option when booking, then pay the additional ¥3,000 material and processing fee.
The final piece is not presented as a weapon for use. This is a craft class and souvenir-making session. One participant specifically wished there were a chance to try the finished tool, but that is not part of the stated program. Think of what you make as a handmade keepsake and display item.
Heating the metal and striking it into shape
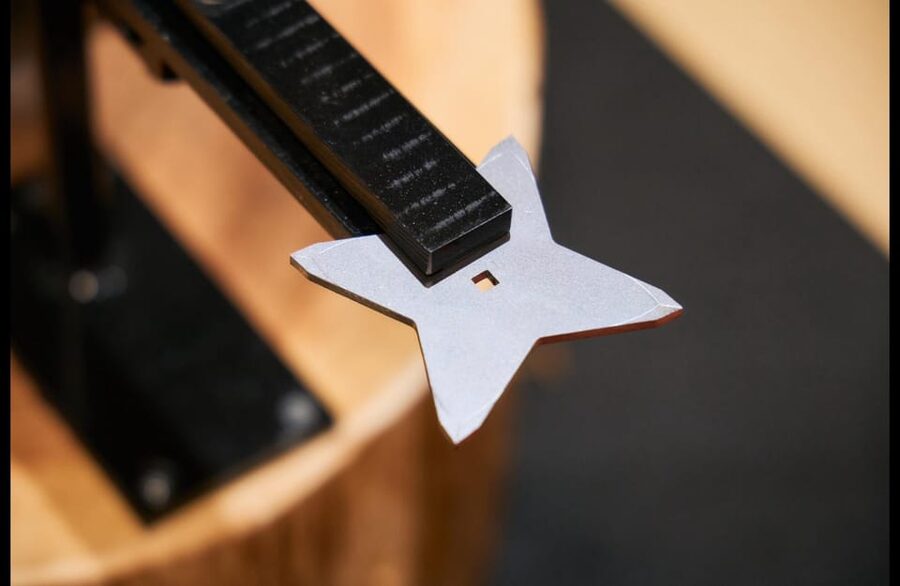
The forge is the heart of the class. Your steel goes into a furnace heated to about 800°C. When it glows, the instructor shows you how to hold the hammer and where to strike.
You do not simply watch a blacksmith work while standing behind a barrier. You get to take part in the hammering under supervision. Blow by blow, the steel begins to change. That moment explains the price better than any brochure could: you are paying for instruction, materials, equipment, safety oversight, and access to a process you could not easily try on your own.
The hammering portion may feel shorter than some people expect. Several participants wanted more time forming the metal, while others found that every stage gave them enough practical involvement. The instructors guide the work so the final shape remains safe and presentable, which means this is not a free-form blacksmithing course.
That balance suits most visitors. You get the thrill of working hot steel without needing previous metalworking experience. The staff explain each step first, then let you try it. For families, this matters. Children can take part, but the hot forge and powered tools require close adult attention.
More samurai and ninja sessions in Kyoto:
- Skip the lines Basic Ticket at SAMURAI NINJA MUSEUM KYOTO
★ 4.5 · 632 reviews - Ninja 1-hour Hands-on Lesson by Japanese master in Kyoto -Entry
★ 5.0 · 489 reviews - Kyoto: Samurai Kenbu Traditional Sword Dancing Show
★ 4.5 · 426 reviews - Samurai Training with Modern day Musashi in Kyoto
★ 5.0 · 256 reviews
Using the belt sander to sharpen the form
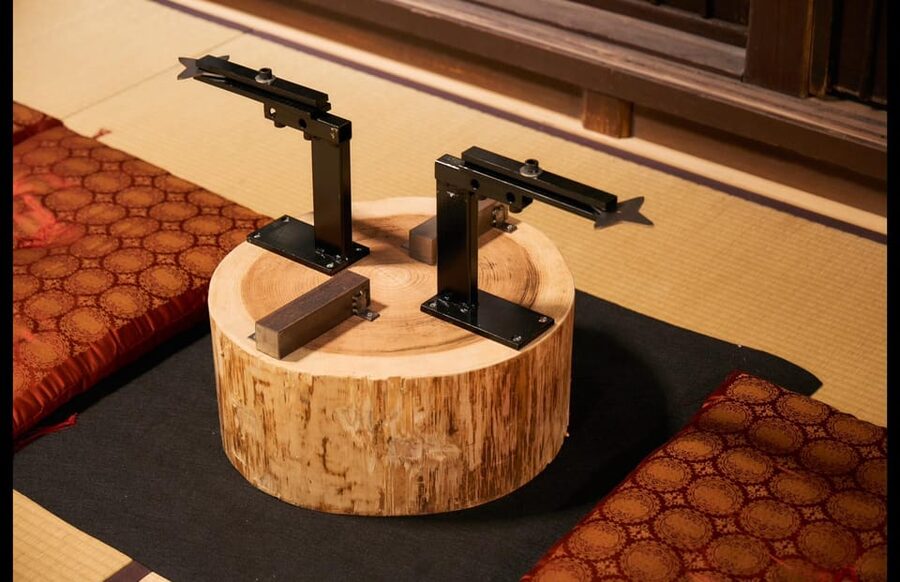
After forging, you move to a professional belt sander. This is where the rough piece begins to look like a finished shuriken or kunai.
The instructor helps you refine the edges and clean up the lines. You can see the shape appear as excess metal is removed. One participant called sharpening the best part because the object visibly takes form. That is a good way to understand the appeal: the work is not finished until you have helped make the surface cleaner and the outline sharper.
The sander is also a reminder that this is a guided activity, not a simple souvenir workshop. You use real equipment, but you are not left to guess how it works. English instructions are provided, and the team moves around the group to help.
You should expect shared attention rather than unlimited one-to-one time. One person wished for more individual guidance, and that is a fair point in a group workshop. The instructors are attentive, but several people may be working through different stages at once.
Choosing a kanji character for the engraving
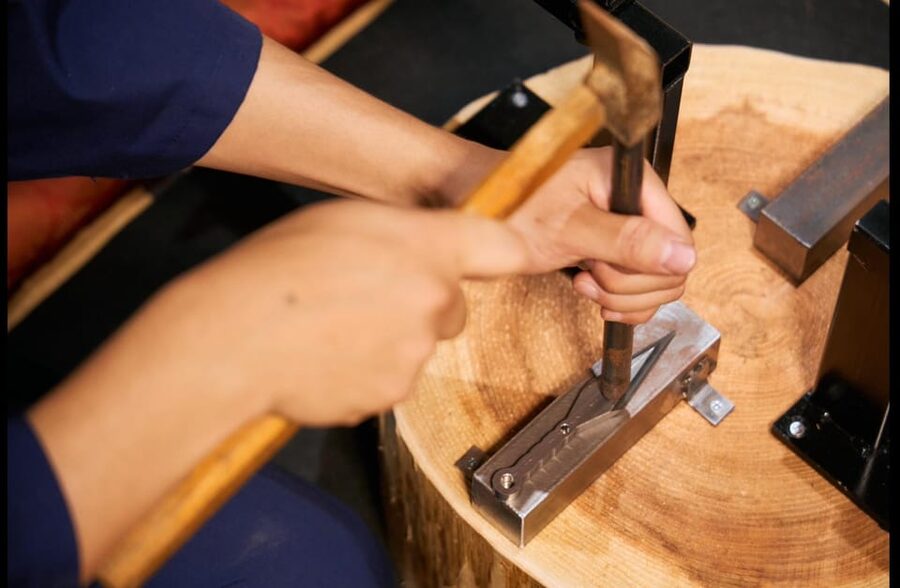
Once the metal has its basic finish, you choose a kanji character for engraving. This small decision gives the piece a personal identity.
The staff engrave the character for you with precision. You are not expected to master Japanese calligraphy or operate the engraving equipment yourself. Instead, you select a symbol that has meaning to you, and the specialist adds it to the metal.
Ask about the meaning before committing if you are unsure. A character chosen for its appearance may carry a meaning you did not intend. The engraving is one of the strongest reasons to bring the finished piece home rather than treat it as a generic ninja souvenir.
The team can also help with filming and photographs at this stage. The engraving process is quieter than the forge, but it is the part that makes your item clearly yours.
Learning how ninja tools fit into Japanese history
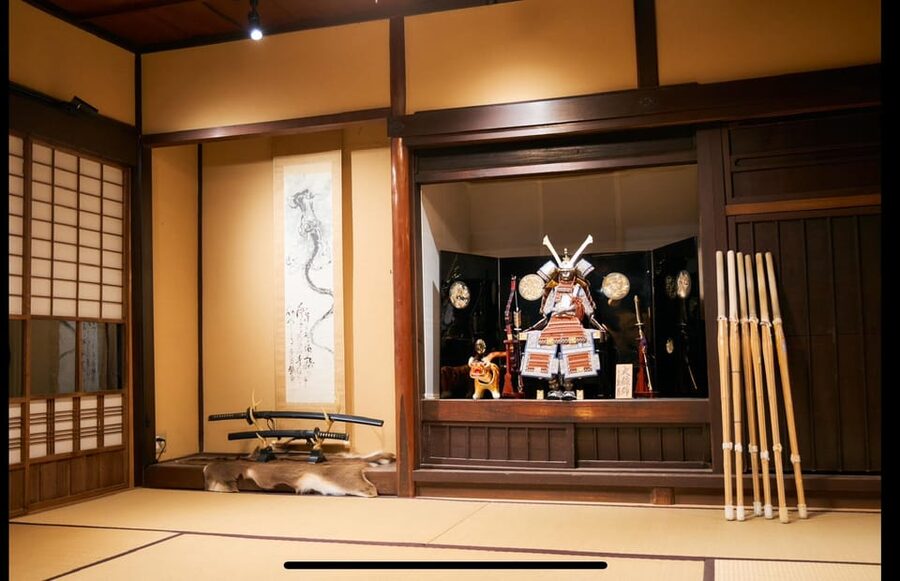
The class includes a short lesson about ninja history, symbolism, and hidden techniques. This gives the making process a cultural frame.
You are not just heating metal because it looks dramatic. You learn why certain tools are linked with ninja stories and how the objects fit into popular images of covert movement and fieldcraft. The lesson helps separate historical ideas from movie fantasy, though the exact amount of lecture time depends on the group and the pace of the practical work.
This part is useful for families and first-time visitors. Children get a story behind the object they are making, while adults receive enough context to make the souvenir more than a novelty.
The instructors keep the tone light. Taka’s humor and energy are frequently noted, and the broader team uses clear English and demonstrations to keep the class moving. If you want a long academic talk on medieval Japan, this is not the right booking. If you want a lively cultural introduction tied directly to something you are making, it works well.
Blackening the steel for a dark ninja finish
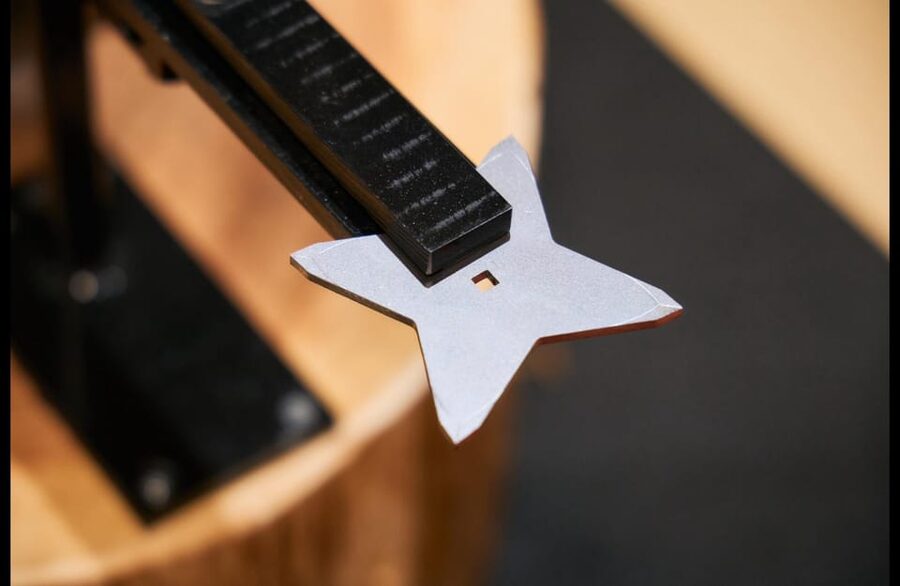
The next stage uses a special solution to darken the metal and help protect it from rust. The color changes the mood of the piece immediately.
The black finish suits the ninja theme without relying on painted decoration. It also gives the surface a more finished appearance. You see the weapon shift from workshop metal to a deliberate object with a dark, subdued look.
This is a supervised step. The important practical point is that the process is part of the class, rather than something done afterward while you wait. You remain involved from the hot steel through the final treatment.
Do not expect the piece to look factory-perfect. Small marks and variations are part of a handmade object. The workshop prepares the materials and controls the difficult parts, but your sanding and polishing help create the final character.
Final polishing and packing your handmade souvenir
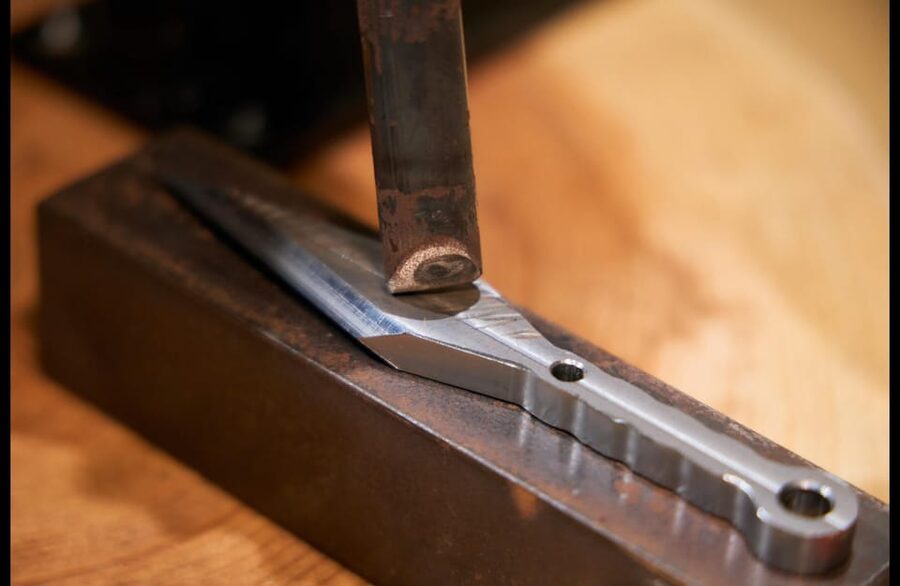
Polishing brings back the clean lines and any chosen shine. The team helps you finish the surface, then places the weapon in a beautiful box for you to take home.
That box matters. A sharp or dark metal object is awkward to pack loose in a suitcase, and the presentation gives it a proper place once you return home. Several people have used the finished item as a trip keepsake, classroom display, or conversation piece.
You should plan your packing before you arrive in Japan. The finished weapon can go home on your flight only in checked luggage. It cannot go in your carry-on. Check the rules for your airline and destination, and declare it if your customs regulations require that. A family returning to Australia reported getting through customs after declaring the items, but your own country’s rules are the ones that count.
Replica swords are also sold at the studio for an extra fee. That can tempt collectors, but remember that swords create their own airline, customs, and packing requirements. Ask the staff about purchase and transport details before adding one.
Is $148 a fair price for 150 minutes?
At $148 per person, this is not a budget activity. You can visit temples, gardens, and markets for much less. The value depends on how much you want to make rather than simply see.
The fee includes the instructor, uniform, tools, weapon-making class, and the weapon itself. You also receive the kanji personalization and presentation box as part of the finished experience. The workshop provides access to a hot forge, professional belt sander, engraving equipment, and specialist supervision. Those costs add up.
For a couple or family looking for a physical souvenir, the price is easier to justify. You are not buying a mass-produced object from a shop. You are buying a two-and-a-half-hour activity and leaving with something tied to your own effort.
The price is less convincing if you mainly want a polished ninja prop or a long blacksmithing course. The starting shape is prepared for you, and the instructors control the technical work. You participate in each stage, but you are not learning enough to forge a complete blade independently afterward.
Check the final duration when booking. The stated length is 150 minutes, although some people describe the full session as taking close to three hours. The difference may come from changing clothes, group size, photographs, and the pace of each class.
Who will enjoy this Kyoto activity most?
I would recommend this for adults, teenagers, families, and solo visitors who prefer active cultural activities. It is particularly good for people who have already seen several temples and want a different side of Kyoto.
Children can enjoy it too. An eight-year-old received helpful support, and families with children around 11 to 17 found the steps manageable and exciting. Still, this is a hot-metal workshop with powered equipment. Parents should expect to stay engaged and follow the instructors’ directions.
Solo visitors can also fit in comfortably. One participant made friends during the class and later went for drinks with them. The shared work naturally gives you something to talk about, without forcing a formal group activity.
It is a good choice for:
- Families seeking a hands-on souvenir
- Couples who want a shared project
- Solo visitors who enjoy meeting people through an activity
- Anyone interested in Japanese craft and ninja culture
- Visitors who prefer making something to shopping for it
I would think twice if you dislike heat, noise, hills, or group instruction. The class is safe and carefully guided, but it is still a forge. You may also prefer a sword-related experience if your main interest is samurai blades, since the standard class focuses on shuriken and kunai.
Practical booking advice for your Kyoto schedule
Book the kunai option in advance if that is your preference. The extra ¥3,000 covers processing and materials, and it must be selected during reservation.
Wear something comfortable under the samue. The workshop supplies the uniform, but you will be moving between stations and working with tools. Closed, practical clothing is sensible, though the supplied information does not specify a dress code.
Bring a phone for photographs and videos, but keep it controlled around the forge. The team helps capture the process, and the glowing metal makes the best images.
Leave room in your itinerary after the class. The official time is 150 minutes, but changing, photos, packing, and transport can stretch the outing. If you are taking a taxi back to central Kyoto, arrange it early.
The activity has free cancellation up to 24 hours before the start time for a full refund. You can also reserve and pay later, which helps if your Kyoto plans are still shifting.
Should you book the ninja weapon forging class?
Book it if you want a hands-on Kyoto memory rather than another sightseeing stop. The strongest parts are the real steel, the glowing forge, the step-by-step guidance, the kanji engraving, and the boxed item you take home. The English-speaking team, led in part by the energetic Taka, makes the class approachable for first-timers.
Skip it if $148 feels high for a souvenir, if you want a full professional blacksmith course, or if transporting a metal weapon home will be difficult. Also allow for the hillside location and possible taxi costs.
For most families, couples, solo visitors, and culture-minded fans of ninja lore, this is a memorable use of 150 minutes. Just reserve the right weapon, plan your ride, and pack the finished piece in checked luggage.
FAQ
How long does the ninja weapon forging experience last?
The stated duration is 150 minutes. Some participants describe the full visit as taking close to three hours, so allow extra time for changing, photographs, and packing.
How much does the activity cost?
The listed price is $148 per person. Making a kunai requires an additional ¥3,000 for processing and materials.
Which weapons can I make?
You can choose from three shuriken styles. A kunai is also available, but you must select the kunai option when booking and pay the extra fee.
Is the class taught in English?
Yes. The instructor language is English, and the studio team guides you through the process in English.
Where is the meeting point?
The studio is a one-minute walk from Hieizanguchi Station. Go up the hill from the station, using the red postbox in front of the station as a landmark.
Can I bring the finished weapon on my flight?
Yes, but only in checked luggage. It cannot go in your carry-on bag. Check your airline and destination’s customs rules, and declare the item if required.
Just added around Kyoto
- Kyoto: Zen Meditation at a Private Temple with a Monk★ 5.0 · 25 reviews
- Kyoto: Gion Geisha District & Sake-in-Hand Walking Tour★ 5.0 · 37 reviews
- Private Pewter Sake Cup Experience with a Kyoto Artisan★ 5.0 · 31 reviews
- Your Private Vacation Photography Session In Kyoto★ 5.0 · 110 reviews
- Private Guided Traditional Buddhist Cooking in Japan★ 5.0 · 16 reviews
- Kyoto Wagashi(Japanese sweets) Cooking Class near Fushimiinari★ 5.0 · 60 reviews
- Traditional Japanese Music show & Experience Tour in Kyoto★ 5.0 · 57 reviews
- Kyoto:Family-Friendly Kimono & Yukata Experience at WARGO★ 5.0 · 147 reviews
Kyoto Tours, compared.
Fushimi Inari, Kinkakuji, Bamboo Grove 1 Day Bus Tour
Read our review →
Tea Ceremony in a Traditional Tea House in Kiyomizu
Read our review →
Kyoto Geisha Walking Tour: Gion District & Hidden Gems
Read our review →

Gion Magical Night Walking Tour with Geisha Trivia
Read our review →
Gion Geisha District Walking Tour – Stories of Geisha
Read our review →Browse the lists this tour appears in